
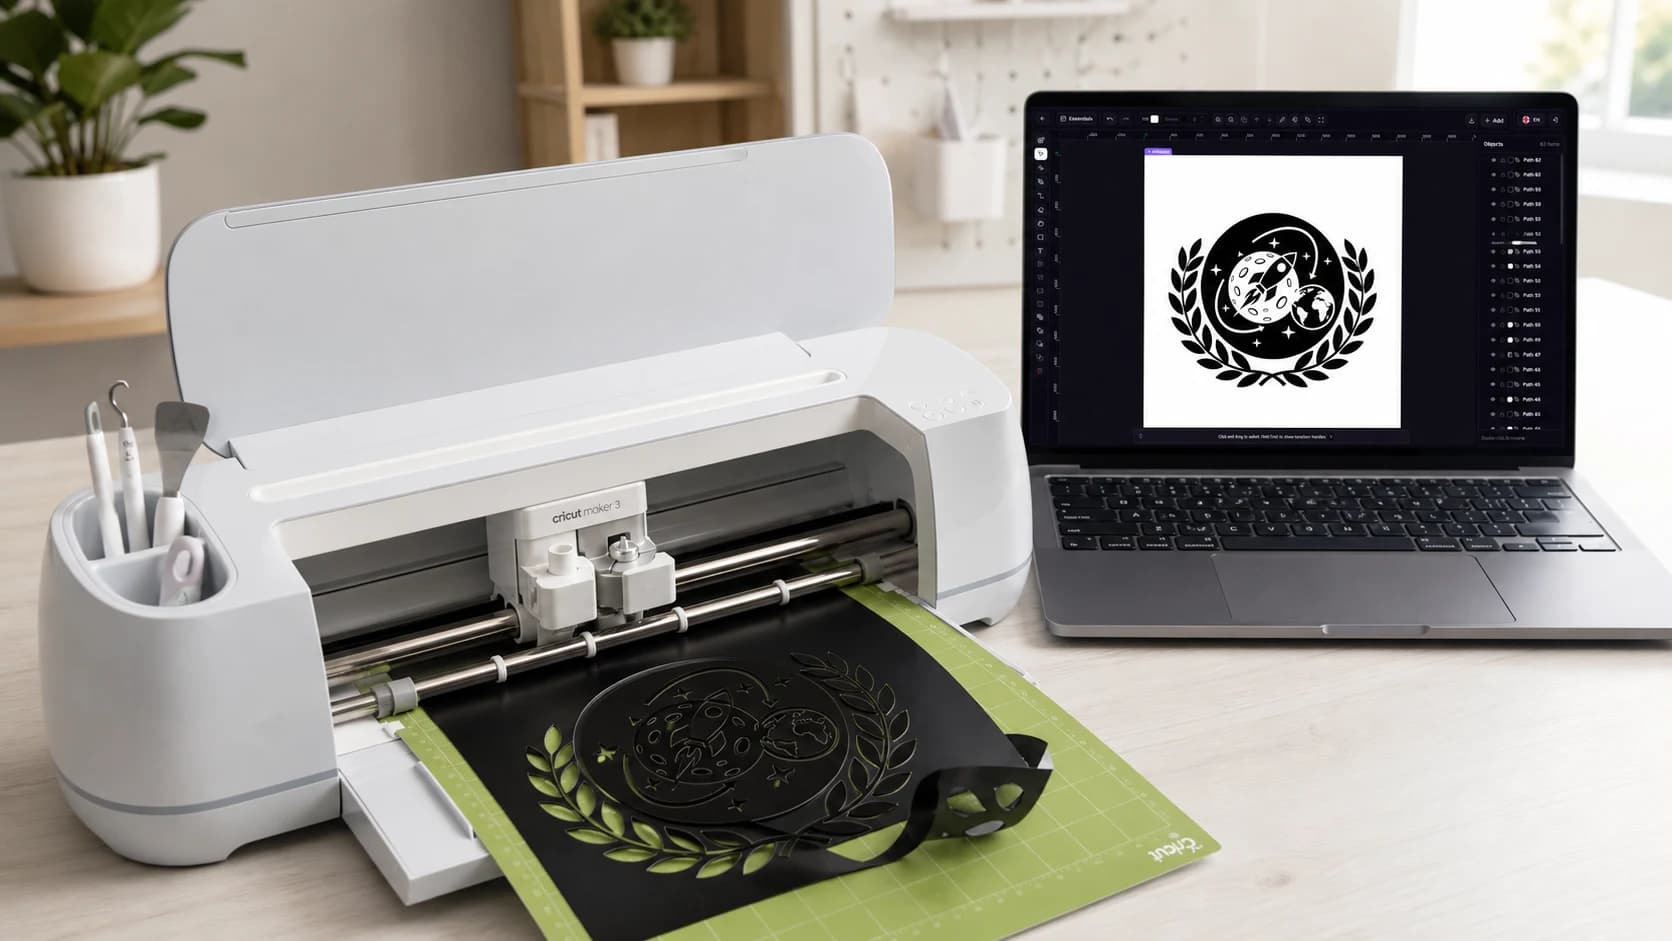
A Cricut project needs more than an attractive image. It needs clear vector paths that the blade can follow.
This guide shows the shortest complete workflow: create the design in SvgCraft, review the paths, download the SVG, and upload it to Cricut Design Space.
Before you begin
Decide the finished size and number of material colors.
Use bold shapes and open gaps for small vinyl or cardstock projects.
Remove gradients, shadows, texture, and tiny isolated details from the design brief.
1. Create the design in SvgCraft
Open SvgCraft Projects and choose Vinyl. Describe the subject, layout, and the limits that matter for cutting.
A useful prompt is direct:
Single-color mountain badge with three pine trees, bold connected shapes, clear negative space, no shadows, no tiny isolated details, white background.
State the number of colors when the project has separate material layers. If the final design will be small, ask for fewer details from the beginning.
2. Generate and inspect the result
Select Generate, then judge the design at its intended size. Check whether the main shape remains clear, important gaps stay open, and every small piece is worth cutting and weeding.
If the overall structure is too detailed, revise the prompt and generate again. Editing is most useful after the basic composition is already correct.
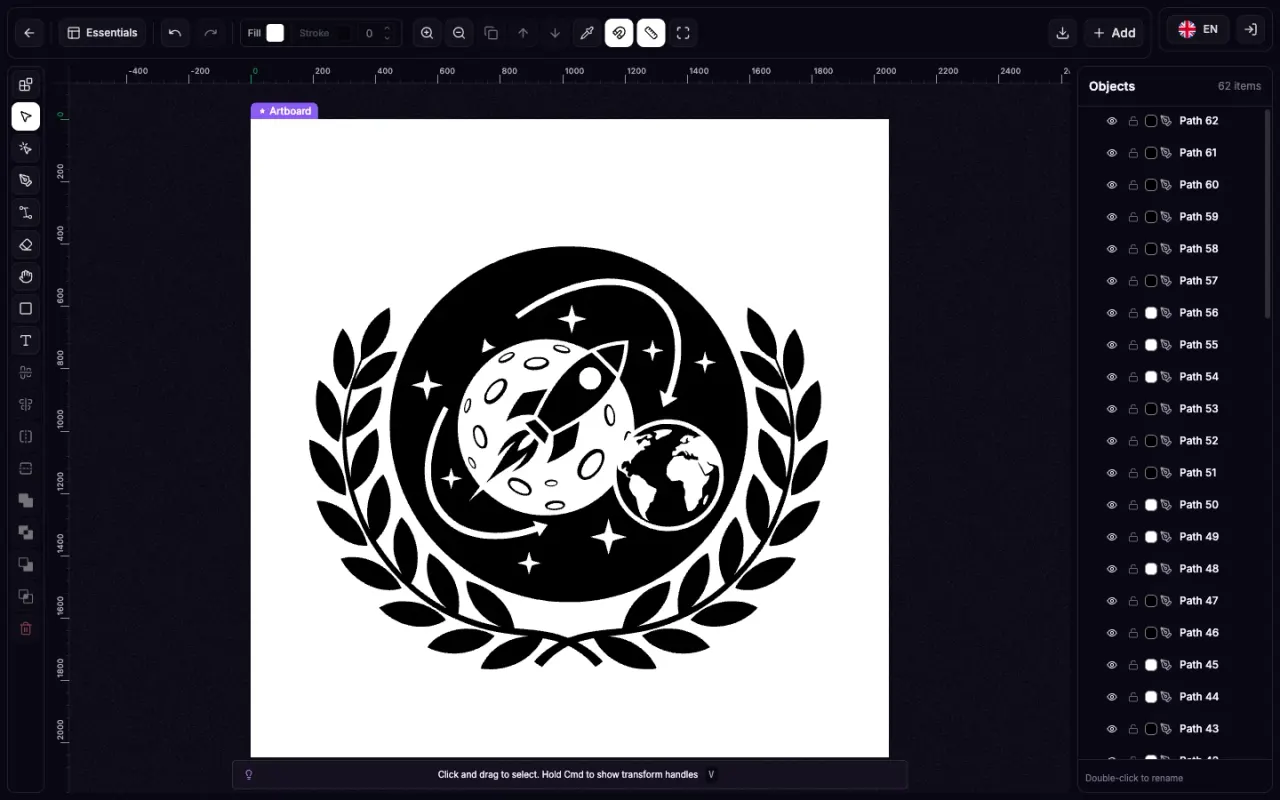
The generated SVG open in the real SvgCraft editor.
3. Make only necessary edits
Open Edit SVG and inspect the actual objects. Remove loose dots and slivers, check narrow shapes, and confirm that each color represents an intentional cut layer.
Do not merge every object automatically. Open spaces can be part of the design, and separate colors may need to remain separate layers.
4. Download the SVG
Select Download SVG when the paths and layers are ready. PNG and JPG are useful for previews, but the SVG keeps the vector paths required for this workflow.
5. Upload the file to Cricut Design Space
On the Design Space Canvas, select Upload, then Upload Image.
Browse to the SVG or drag it into the upload window, then continue.
Name the image, select Upload, and check the imported size and layers on the Canvas.
Cricut’s official image upload guide contains the current desktop and mobile instructions.
Common problems
Design Space says the file is too large
Cricut currently limits an uploaded SVG to 5,000 paths. Return to SvgCraft and remove unnecessary fragments or simplify the design.
Design Space reports unsupported items
Keep a standard cut file to flat vector paths. Gradients, textures, embedded images, editable text, and similar elements can cause upload problems. Cricut lists the affected elements in its unsupported items guide.
Small pieces are difficult to cut or weed
Increase the finished size or simplify the design. A detail that looks clear in a large preview may be impractical in a small physical cut.
What makes an SVG practical for Cricut
A valid SVG can still be a poor cut file. The blade follows the paths in the document, so the physical result depends on shape size, spacing, material, and the number of separate pieces. A practical Cricut design uses enough detail to communicate the idea, but not more detail than the final size and material can support.
Negative space matters as much as the filled shapes. Small gaps can close when the design is reduced, and thin bridges can lift during cutting or weeding. Review the file as a physical object rather than as a large image on screen.
Plan size, material, and colors before generation
Finished size is the most important constraint. A shirt graphic can support more detail than a small label, while cardstock and adhesive vinyl behave differently around narrow corners and isolated pieces. Decide the approximate width first, then choose a detail level that remains realistic at that width.
Each material color normally becomes a separate production decision. For a one-color decal, ask for a single-color design and check that light areas are true openings rather than hidden white objects. For a layered project, limit the palette deliberately and make sure each color forms a useful layer.
Write the brief for cutting, not only appearance
A strong prompt describes the subject and the production constraints in the same sentence. Include the composition, number of colors, desired silhouette, and details that must be excluded. Terms such as bold connected shapes, clear negative space, and no tiny isolated details give the generator information that affects cutting.
Avoid asking for photographic lighting, soft shadows, surface texture, or delicate micro-detail when the output is a simple cut file. Those qualities may improve a raster illustration but usually create complexity that must be removed from a cutting SVG.
Verify the file after import
Successful upload is not the final check. On the Design Space Canvas, confirm the imported width and height, inspect the Layers panel, and compare the visible shapes with the file you approved in SvgCraft. If a one-color design arrives as many unexpected layers, return to the editor and correct the objects or colors instead of accepting a confusing setup.
Before cutting expensive material, make a small test with the intended material and settings. The test reveals whether narrow gaps, small islands, and corners survive the real process. If they do not, simplify the SVG or increase its final size, then import the revised file again.
Cricut-ready checklist
The design is readable at the actual finished size.
Every object is large enough to cut and weed for the chosen material.
Open spaces remain open and thin connections remain stable.
Colors represent intentional material layers.
The imported dimensions and Layers panel match the approved SVG.
Finish the project
A practical Cricut SVG has a clear shape, intentional layers, and no detail that the final size cannot support. Create the structure first, make focused edits, and verify the imported file before sending it to the machine.
Create a Cricut SVG in SvgCraft
The cover is an AI-created production scene. The editor image in this article was captured from the real SvgCraft application.