
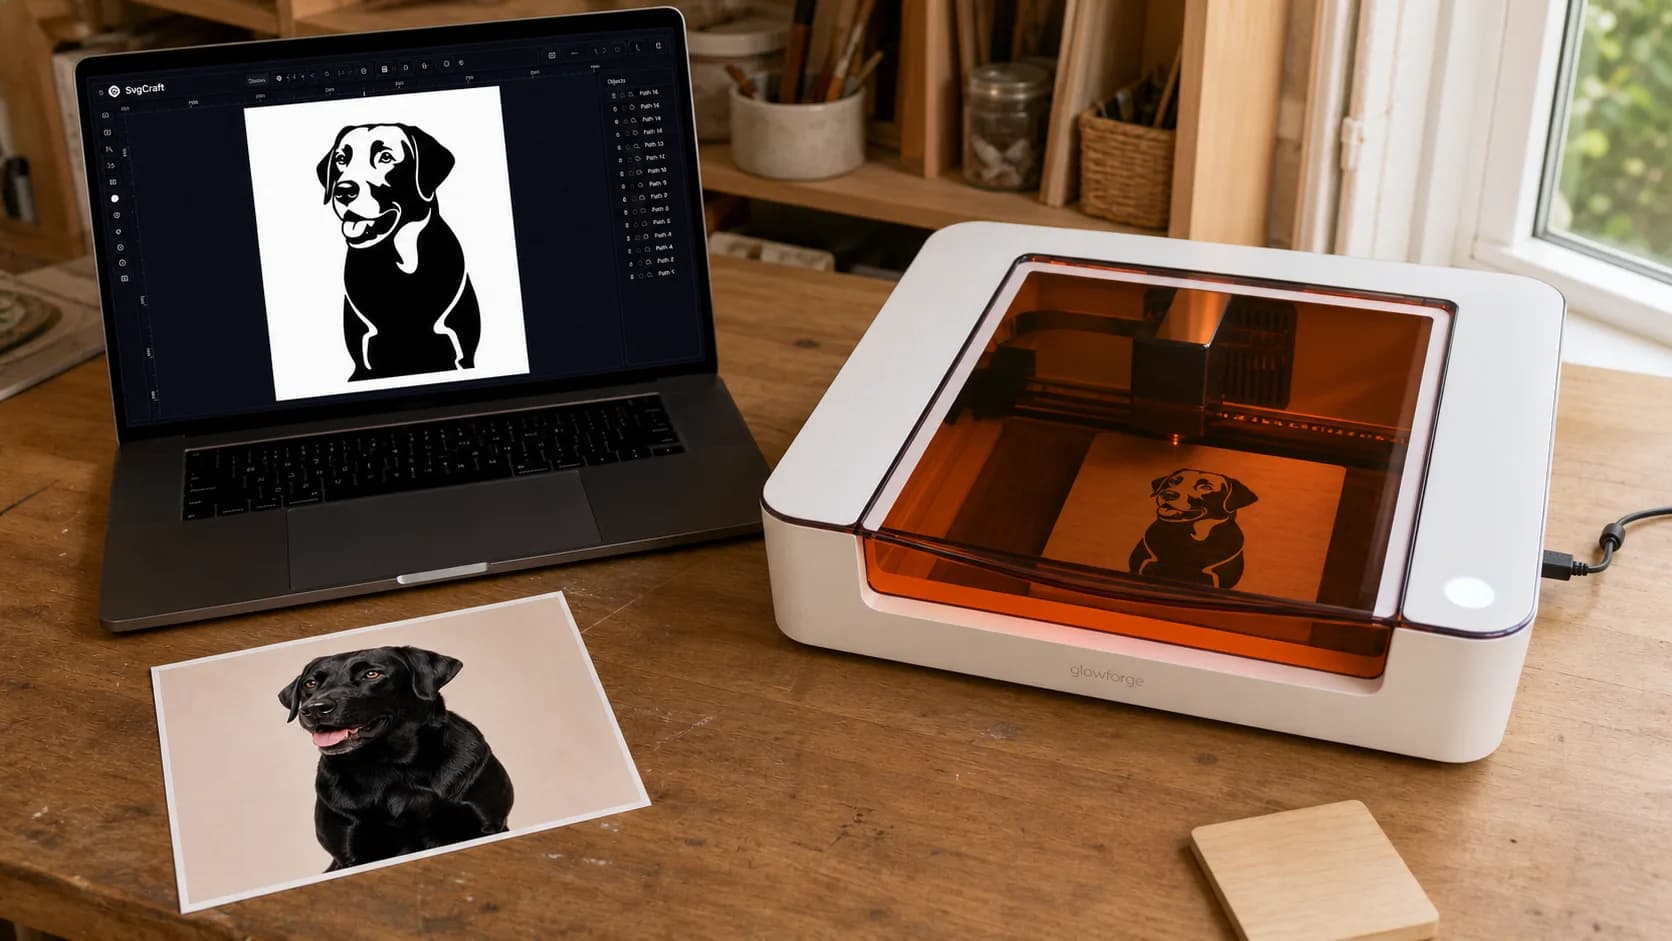
A photo is made from pixels; a Cricut cut file needs vector paths. Converting the image therefore means simplifying the subject into shapes that a blade can follow.
In SvgCraft, you can do this without writing a prompt: upload the photo, choose Vinyl, generate the result, and edit only the paths that need attention.
Before you begin
Use a photo you own or have permission to use.
Choose one clear subject with visible separation from the background.
Crop away unrelated objects before uploading when possible.
If the final project must preserve the photograph’s full color and shading, use Cricut Print Then Cut instead. The workflow below is for a simplified SVG cut file.
1. Upload the photo
Open SvgCraft Projects, select Image, and attach the source photo. Choose Vinyl for a bold, cut-oriented result.
The prompt field can stay empty. Once the image and style are selected, choose Generate.

The real SvgCraft composer ready to generate from the attached photo without a prompt.
2. Check the generated SVG
Compare the result with the source photo at the size you plan to use. The subject should remain recognizable, while the background and photographic shading should be reduced to practical shapes.
Look for unnecessary specks, very narrow pieces, and colors that would create unintended material layers. If the entire result is too complex, try a cleaner or more tightly cropped source image before spending time on detailed editing.
3. Clean the paths in the editor
Open Edit SVG and inspect the actual vector objects. Delete fragments that add no value, preserve the main silhouette, and confirm that every color represents a real layer or an intentional open area.
Judge the design at its final physical size. Small details that look fine on a large screen may be difficult to cut and weed.
4. Download and upload to Design Space
Select Download SVG. In Cricut Design Space, open the Canvas, select Upload and Upload Image, then choose the SVG. Name the image, upload it, and verify the imported dimensions and layers.
For the latest desktop and mobile controls, use Cricut’s official image upload guide.
Common problems
The result contains too many pieces
Use a simpler crop, remove background clutter, or choose a photo with stronger subject separation. Then remove only the remaining unnecessary fragments in the editor.
The subject is no longer recognizable
Use a sharper photo with clearer lighting and a more direct view of the subject. Avoid extreme cropping that removes the main silhouette.
The SVG creates unexpected layers
Inspect the object colors in the editor. A light shape can still be a separate path rather than empty space, so decide whether it should remain a material layer or be removed.
What changes when a photo becomes a cut SVG
A photograph communicates with color, light, texture, and continuous shading. A cut SVG communicates with closed shapes and open space. Conversion is therefore not a literal copy of every pixel. It is a controlled reduction that keeps the subject recognizable while removing information the blade cannot reproduce usefully.
The strongest result usually preserves the outer silhouette and a small number of identifying interior shapes. Background texture, soft shadow, individual hairs, and subtle color transitions may be important in the photograph but can become noise in a physical cut.
Choose a source photo for simplification
Use an image in which the subject can be understood without relying on the background. Clear focus, useful contrast, and a crop that contains the whole important silhouette give the conversion better information. A high-resolution image does not compensate for a subject hidden by clutter or for lighting that merges its edges with the background.
Crop for the project, not only for the screen. If the final SVG will be a portrait decal, remove distant scenery and leave enough space around the subject to preserve its outline. If an important part of the silhouette is already outside the photo, the conversion cannot reconstruct it reliably.
Decide between one color and multiple layers
A one-color cut uses the material itself for filled areas and the surface below for open areas. This is usually easier to cut, align, and weed. In the editor, check whether light details are real openings or separate white objects; they may look identical on screen but create different production layers.
A multi-color result can preserve more features, but each color adds material, alignment, and assembly work. Keep only colors that communicate an important part of the subject. If removing a color does not reduce recognition, that layer may not be worth producing.
Know when to regenerate and when to edit
Generate again when the main silhouette is wrong, the subject blends into the background, or the overall result contains far more detail than the intended size can support. A cleaner crop or a clearer source photo changes the information available to the conversion.
Edit when the structure is already useful and the remaining problems are local: a loose fragment, an unwanted layer, a narrow gap, or one path that needs adjustment. This boundary prevents a simple cleanup from turning into a complete manual redraw.
Verify the physical result
After importing the SVG into Design Space, set the actual production size and inspect the Layers panel. Zooming into a large preview is not enough; reduce the design to its final dimensions and check whether the identifying shapes still read clearly.
Make a test cut before committing expensive material. If small pieces lift, gaps close, or the portrait loses clarity after weeding, simplify the paths or increase the size. The successful file is the one that survives the real material and process, not only the digital preview.
Photo-to-SVG checklist
The source photo has one clear, well-separated subject.
The crop preserves the silhouette needed in the final design.
The SVG remains recognizable at its actual output size.
Every color and object has a production purpose.
The imported dimensions and layers are correct in Design Space.
Finish the conversion
A useful photo-to-SVG conversion keeps the subject clear and removes detail that has no practical value in the final cut. Upload the photo, generate without a prompt, make focused edits, and verify the file in Design Space.
The cover is an AI-created production scene. The application image in this article was captured from the real SvgCraft workflow.